


In this quick tutorial, we will learn how to send data to Amazon Kinesis using Amazon Kinesis Producer Library (KPL).
What is Amazon Kinesis?
Amazon Kinesis is a service that allows you to ingest real-time data and analyze streaming data at any scale.
What is Amazon Kinesis Producer Library (KPL) based on?
This library is based on the Amazon SDK client but contains new features, such as asynchronous calls and an optimized way of sending data and handling errors.
want to work with the latest tech?
Join EPAM Anywhere to work with the latest cloud tech and get the recognition you deserve.
Amazon Kinesis example: working with KPL
For this Amazon Kinesis example, we’ll need the following tools:
- JDK 17
- Gradle 7++
- A personal AWS account to create the data stream and access key
- Your IDE (I recommend IntelliJ IDEA)
First off, we’re going to download this repository with all the required dependencies to save some time.
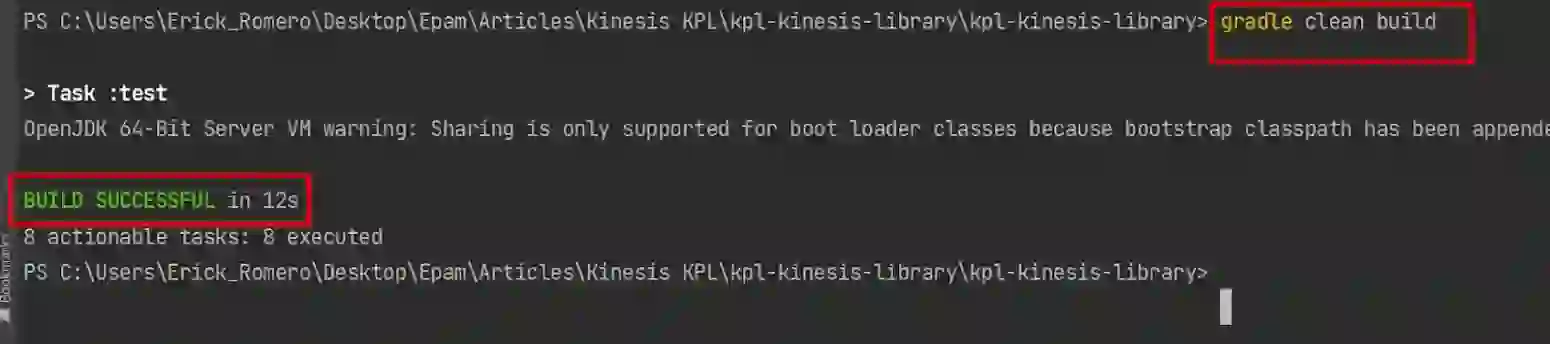
1. Open the downloaded project in your IntelliJ Idea and move to develop the branch. Run the command gradle clean build in your terminal to check if the project is compiling.
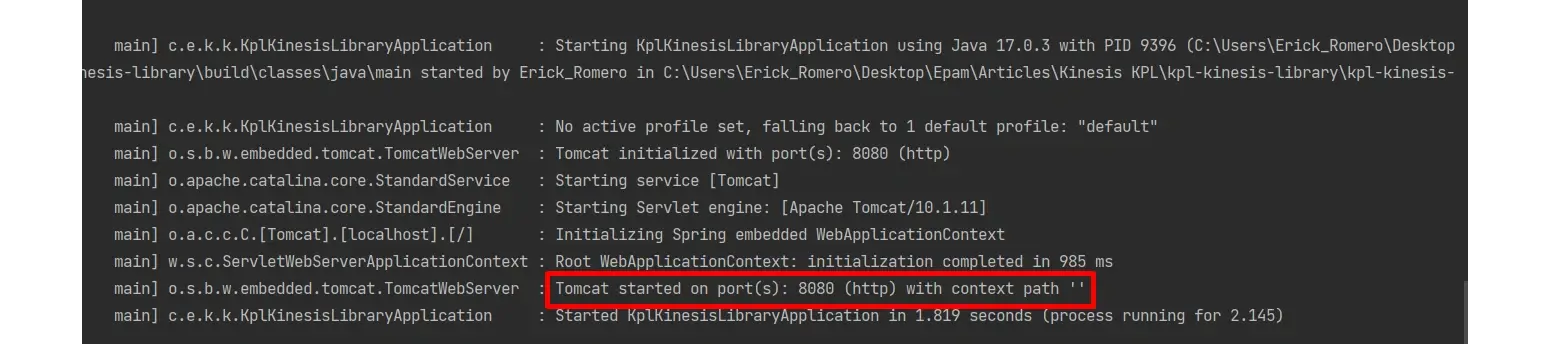
2. Let’s check if our application is also running, so run the Gradle bootRun command in the internal terminal of IntelliJ:

3. Now it’s time to create our Kinesis data stream.
- Let’s log into your AWS console.
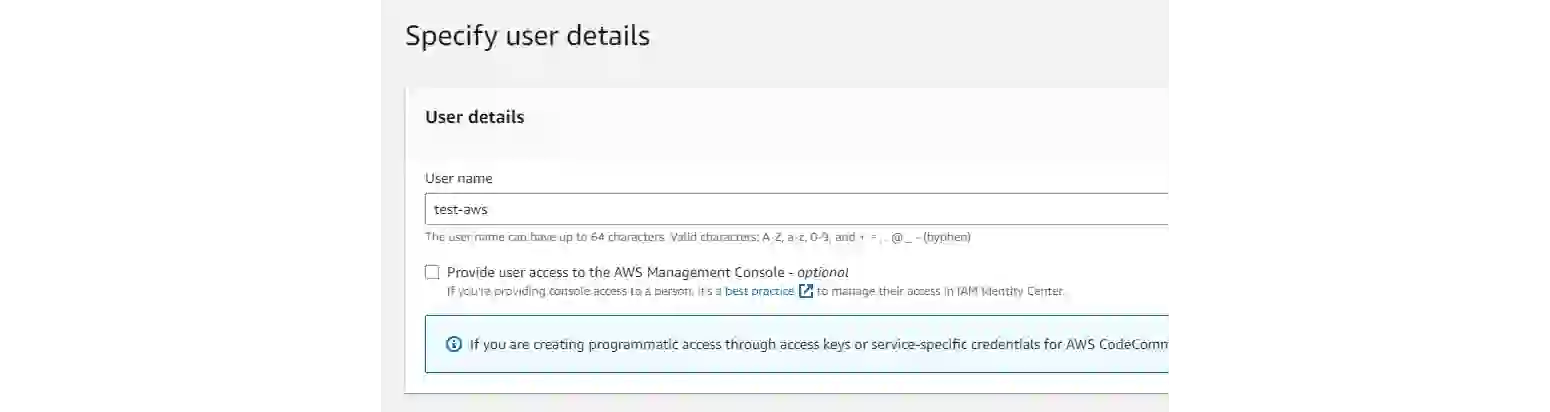
- Once you’re logged in, we’re going to create a new user to get access and a secret key to interact with AWS from our computers.
- Go to IAM and click on Users, adding any name you want that matches AWS naming convention rules.
- Click next.
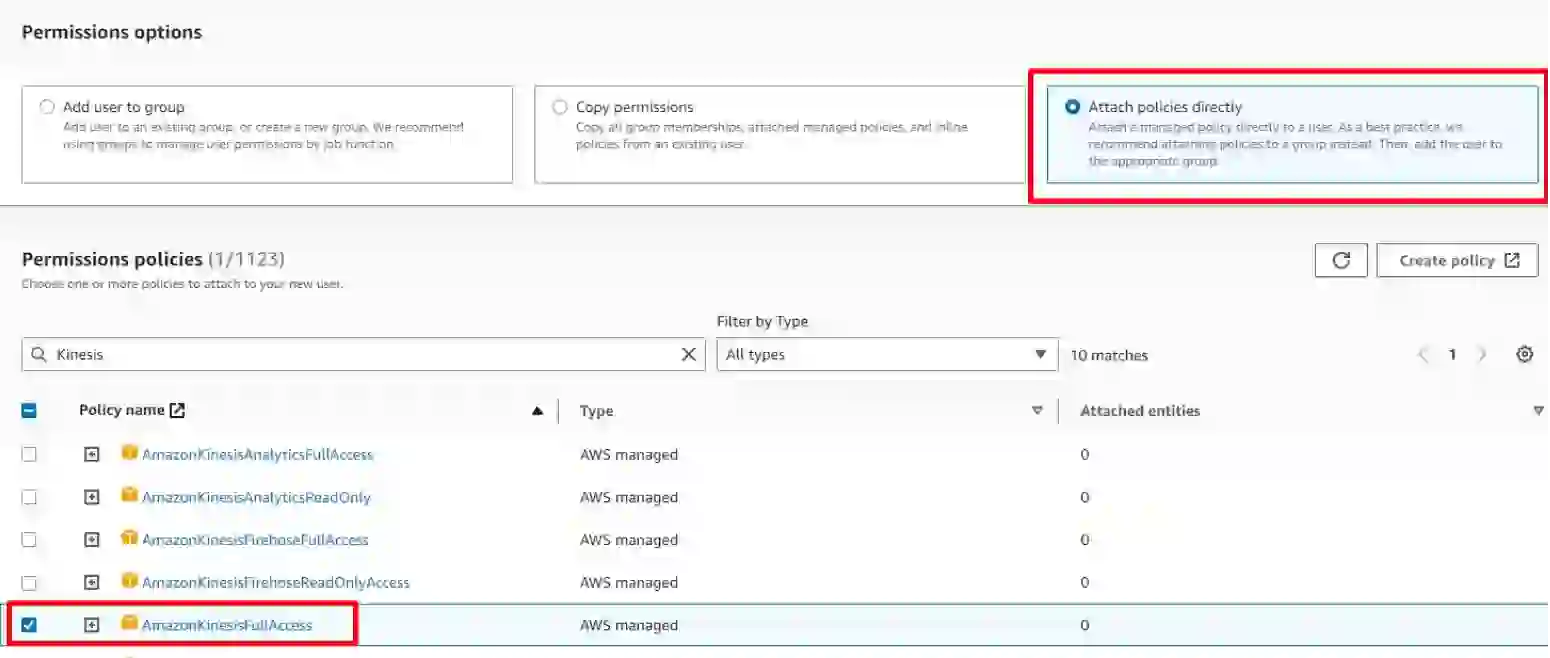
In this case, we need to add some permissions for our user:
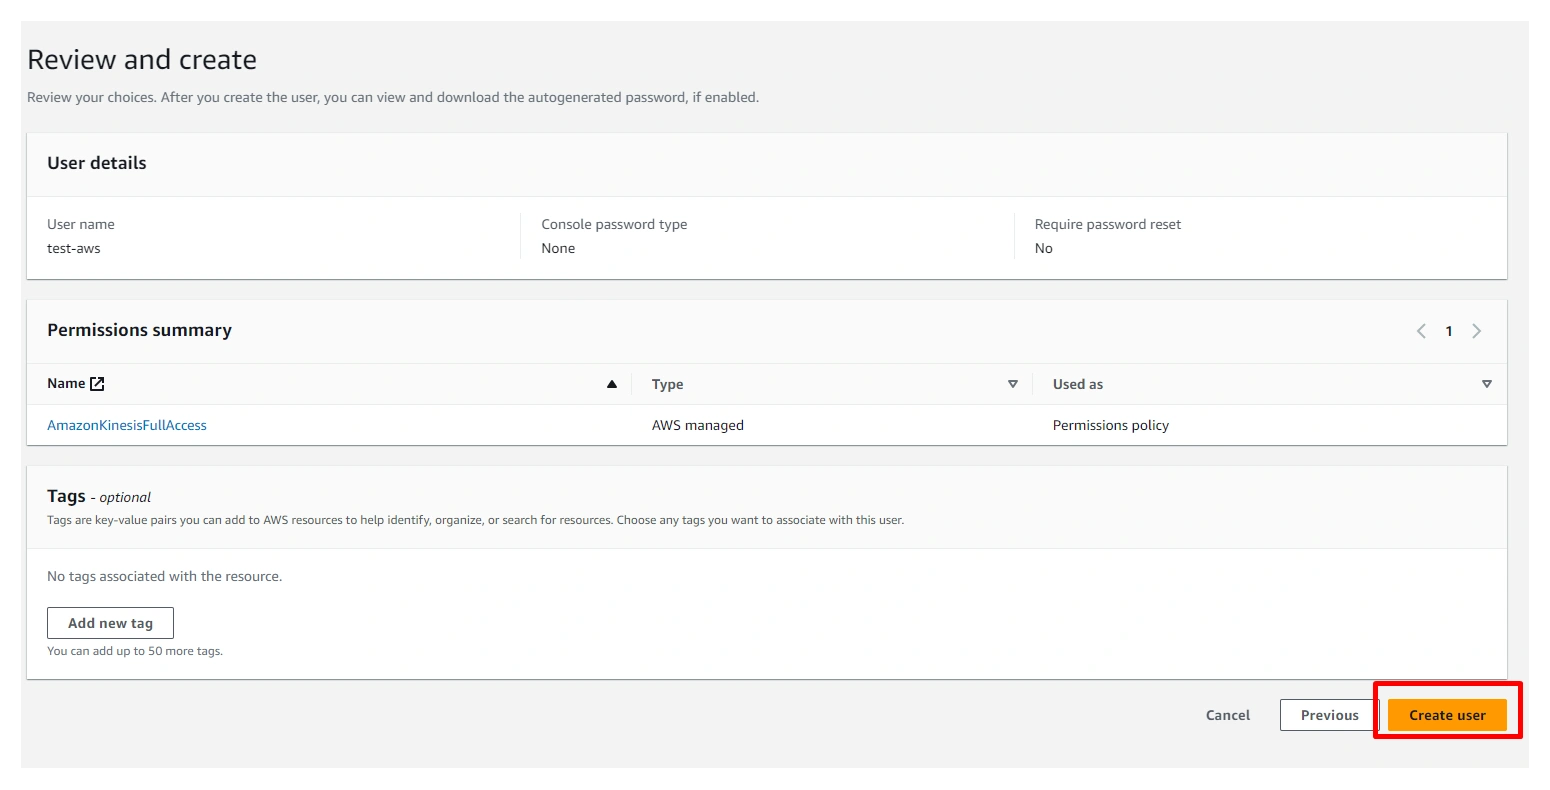
- Select the Attach policies directly option (this is not recommended, but we’ll do it for the sake of this demo) and look up Kinesis in the search bar. Select AmazonKinesisFullAccess and click next.
- Review and create:
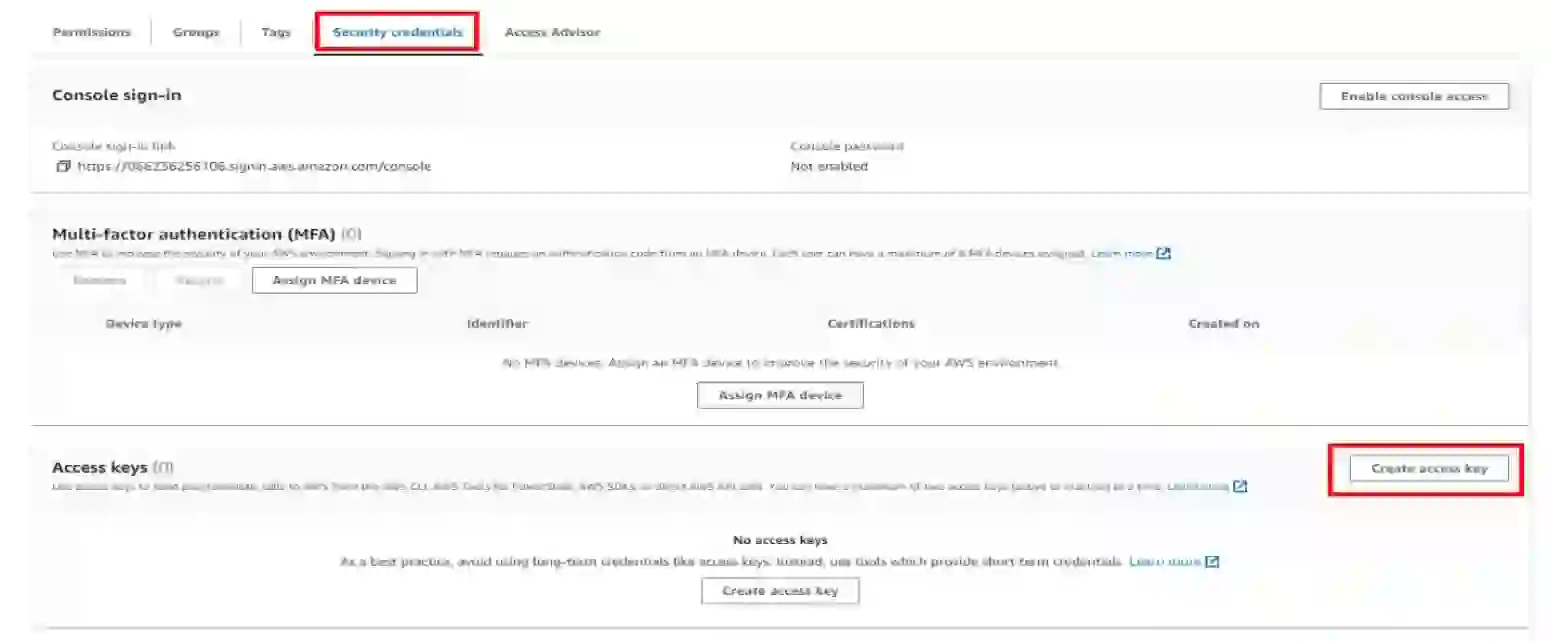
Now, we’re going to create and access the key and the secret key:
- Select the previously created user and go to the Security credentials tab. Click on Create access key.

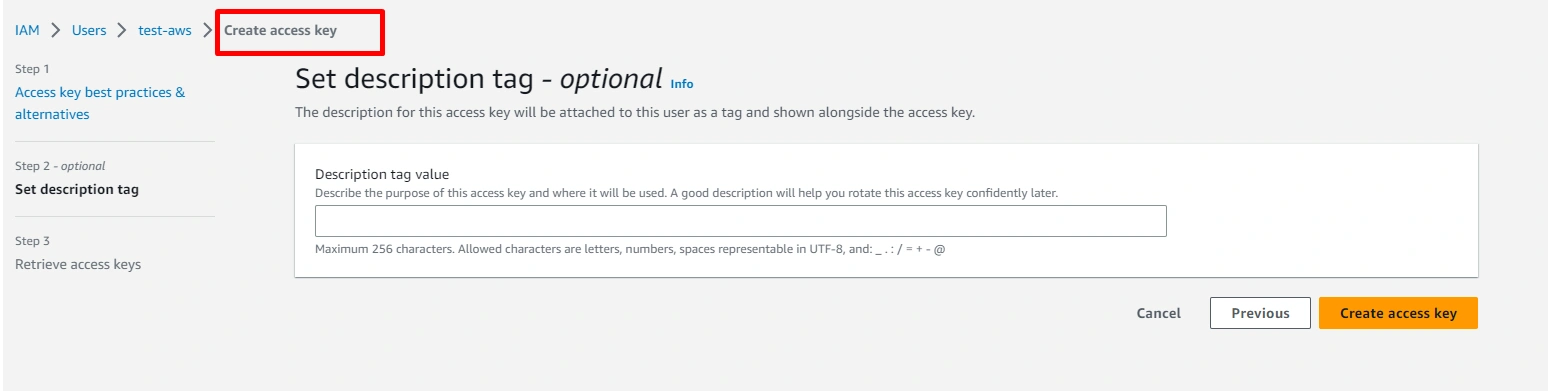


- Copy and paste the keys into a secure notepad because we’ll use them later.
- Go to the AWS console and search for Kinesis. Select the Kinesis Data Streams and click on the Create data Stream button.
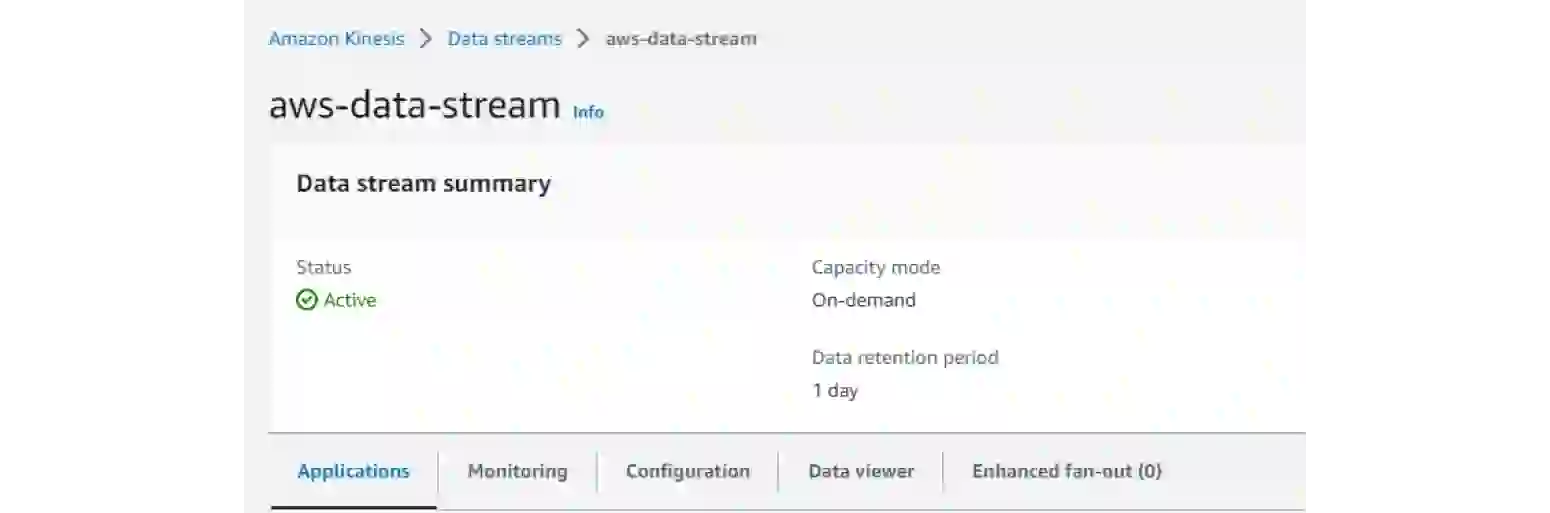
- Add a name for the Kinesis data stream.


I chose aws-data-stream as a name before clicking on create data stream.
We should see something like this:
4. We already have the AWS configuration, so now it’s time to add the necessary code to produce some data in the Kinesis data stream.
- Implement the CommandLineRunner interface in our SpringBootApplication class to execute some code when the app starts:
- Create a config package and a config class with four beans, which will help us to configure the Amazon KPL library.
kinesisProducer, kinesisProducerConfiguration, objectMapper, futureCallback.
We’ll call these beans later when we want to interact with KPL.
5. Create a record that will be used to create objects and send it to Amazon Kinesis. Create a package model and add the next code:

6. Go back to the KplKinesisLibraryApplication and inject the respective beans to interact with KPL like so:
- Add the @RequiredArgsConstructor and @Slf4j annotation from Lombok.
- Add the code in our run method from the CommanLineRunner interface.
First, we need to add the next code to serialize the object to string like this:
The same goes for this code:
This code will use the method addUserRecord() from KPL to send the data, and the Future.addCallback() will allow you to create an asynchronous code and wait for the response from the server and treat it as you want.
Finally, the method flushSync() will empty the cache with the final streams to be processed and stop the deamon child process.

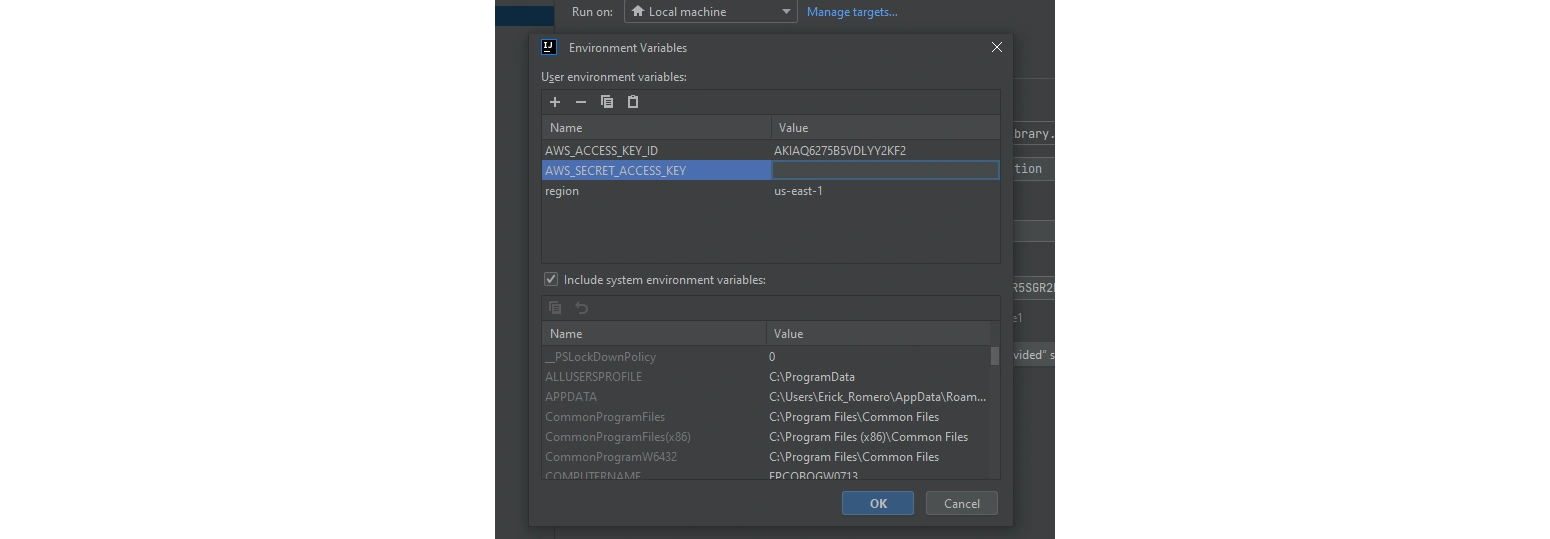
7. When we have all the applications ready, we need to add the following environment variables in our IntelliJ IDEA and pass a region, the access key, and the secret key that we already saved before:

8. We’re going to execute the application, and we should see a log to check if the message was sent successfully.
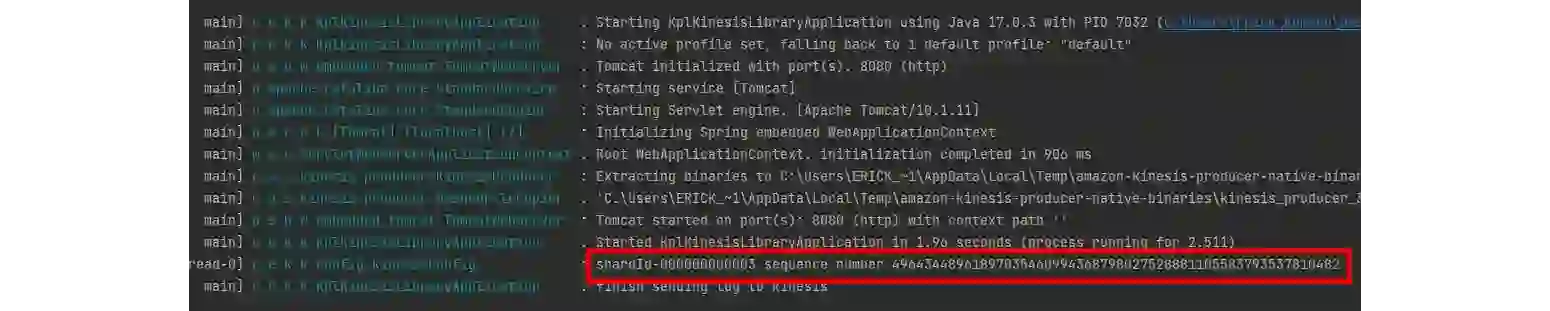
Let’s copy the generated sequence number from the log and go to the AWS kinesis dashboard -> Data viewer. Select the Shard box where the message was stored. In the Starting position select At sequence number, enter the number and click on the Get records option.
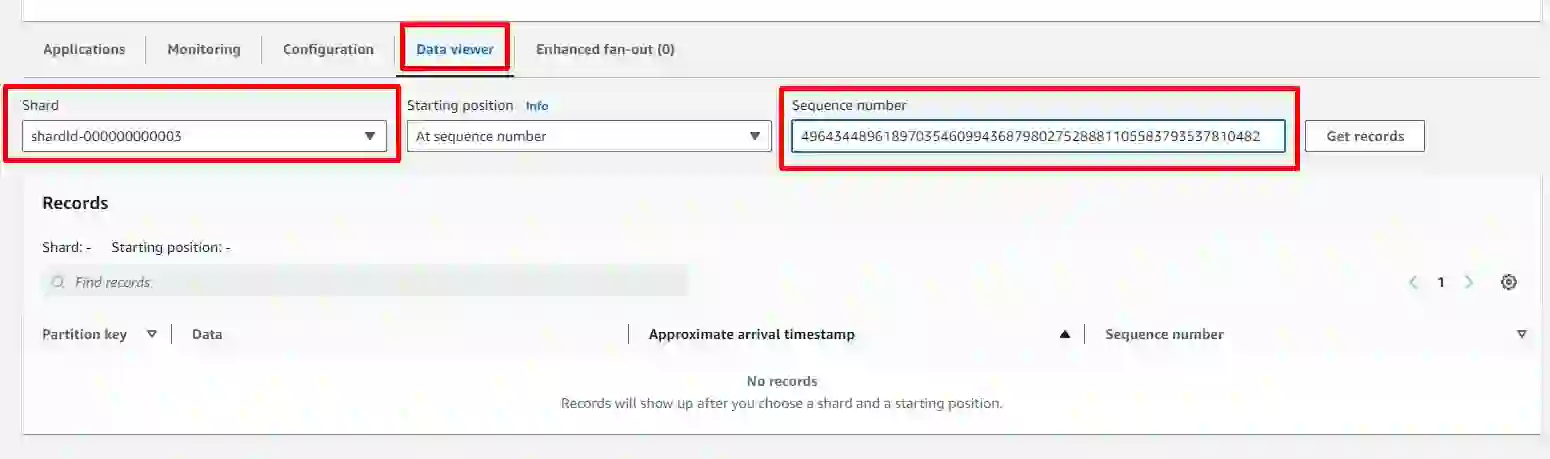
You should see the following message in the partition key:


Now you know how to interact with Amazon Kinesis Producer Library to create asynchronous data stream flows.
This was a quick AWS Kinesis example, and you can also use it to send a million messages in an asynchronous way, with Amazon KPL being able to handle them.
This is the final demo.
Make sure to remove all the services that you used because you might run into unexpected charges.
Thanks for reading and happy coding!

I'm a Java developer with 7+ years of experience and high capabilities in all aspects of the Java ecosystem, such as Spring Boot and GCP, designing solutions for people. I also love clean code and algorithms.
I'm a Java developer with 7+ years of experience and high capabilities in all aspects of the Java ecosystem, such as Spring Boot and GCP, designing solutions for people. I also love clean code and algorithms.
Explore our Editorial Policy to learn more about our standards for content creation.
read more


